You are here: Home » News & Events » Industry News » There is an error on the display of the laser cutting machine system, it is very likely its problem!
There is an error on the display of the laser cutting machine system, it is very likely its problem!
Views: 0 Author: hu Publish Time: 2022-04-01 Origin: dapeng
As a vulnerable part in the daily use of the laser cutting machine, the ceramic ring needs to be replaced frequently by the operator. What is the function of the ceramic ring, what effect will it cause if it is damaged, and how should it be replaced correctly?
1. What is a ceramic ring
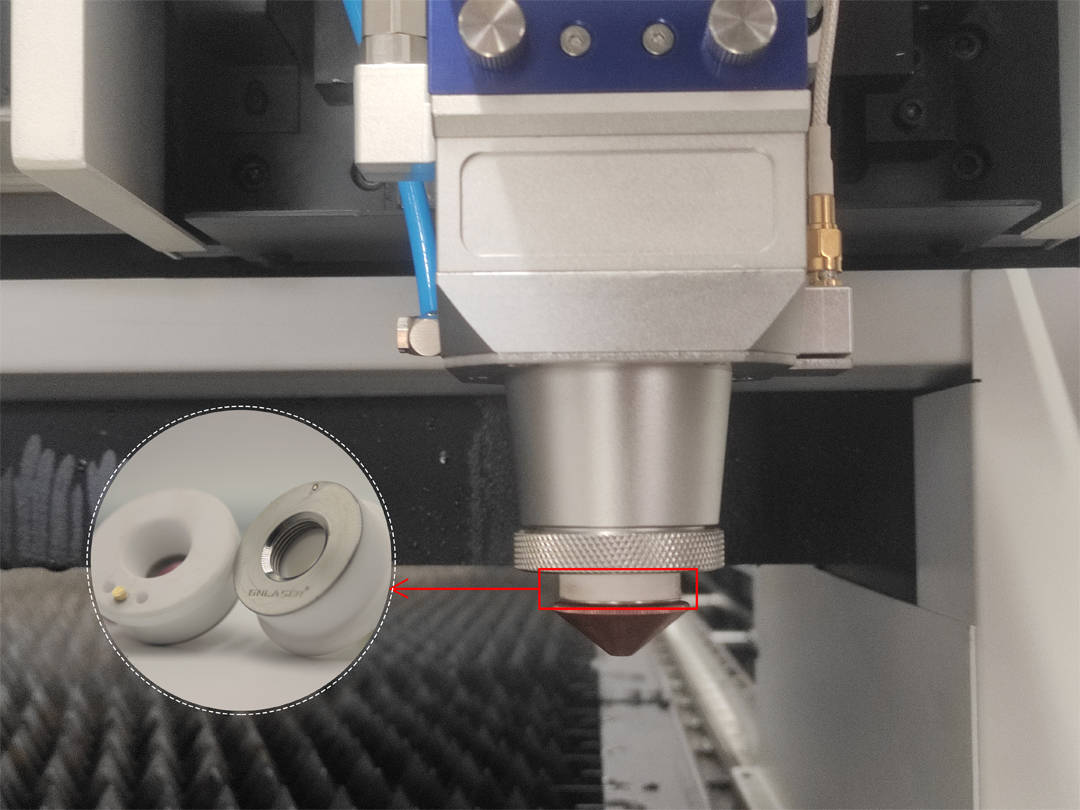
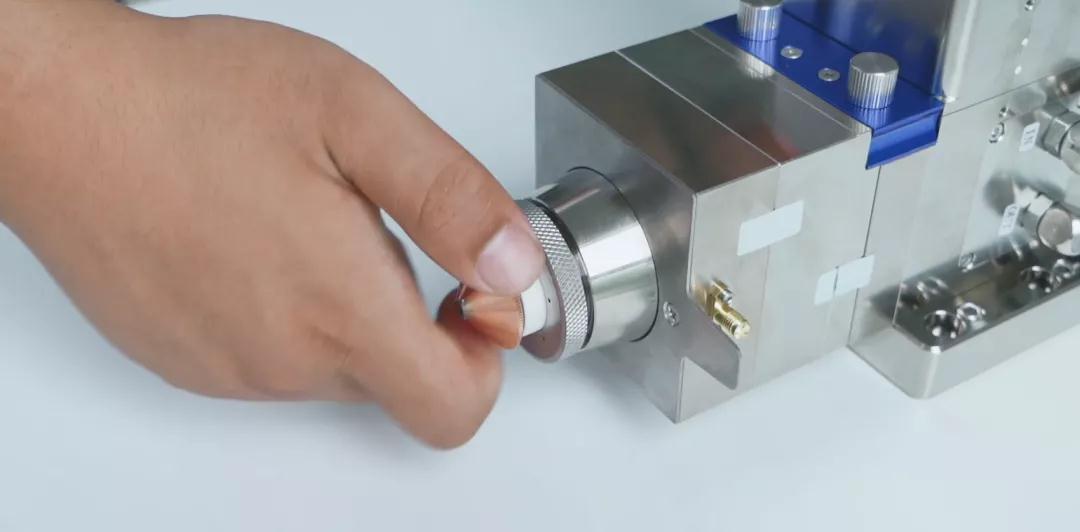
The ceramic ring is mounted on the cutting head, above the nozzle and below the sensor (see picture below). It is responsible for transmitting and collecting the cutting signal emitted by the nozzle to prevent the nozzle from colliding with the plate during operation and damaging other valuable parts of the cutting head. It has the effect of high temperature resistance and anti-deformation.
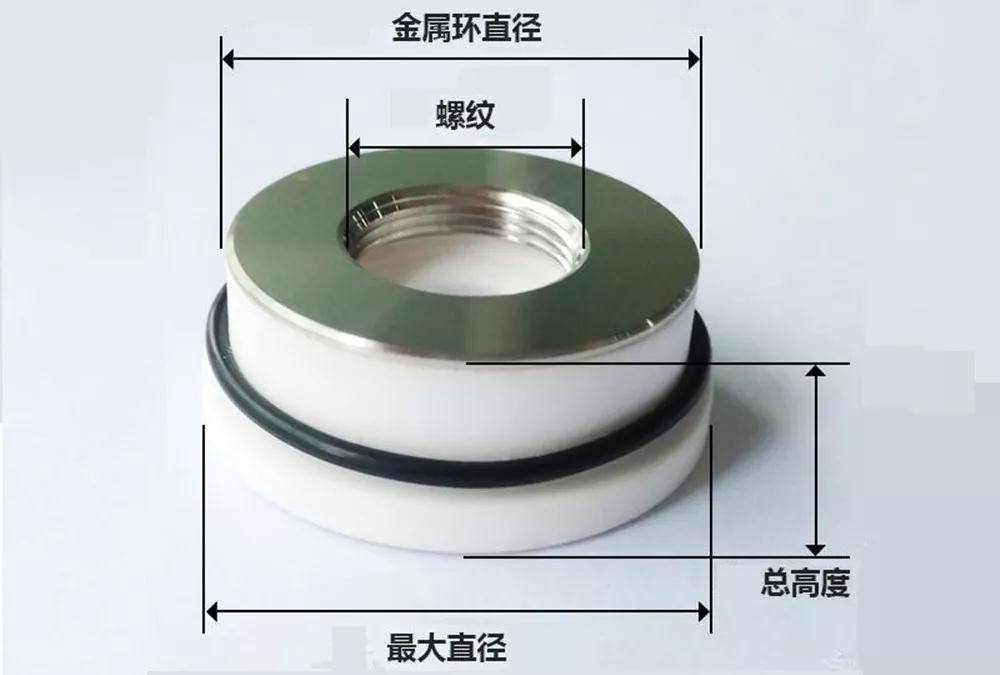
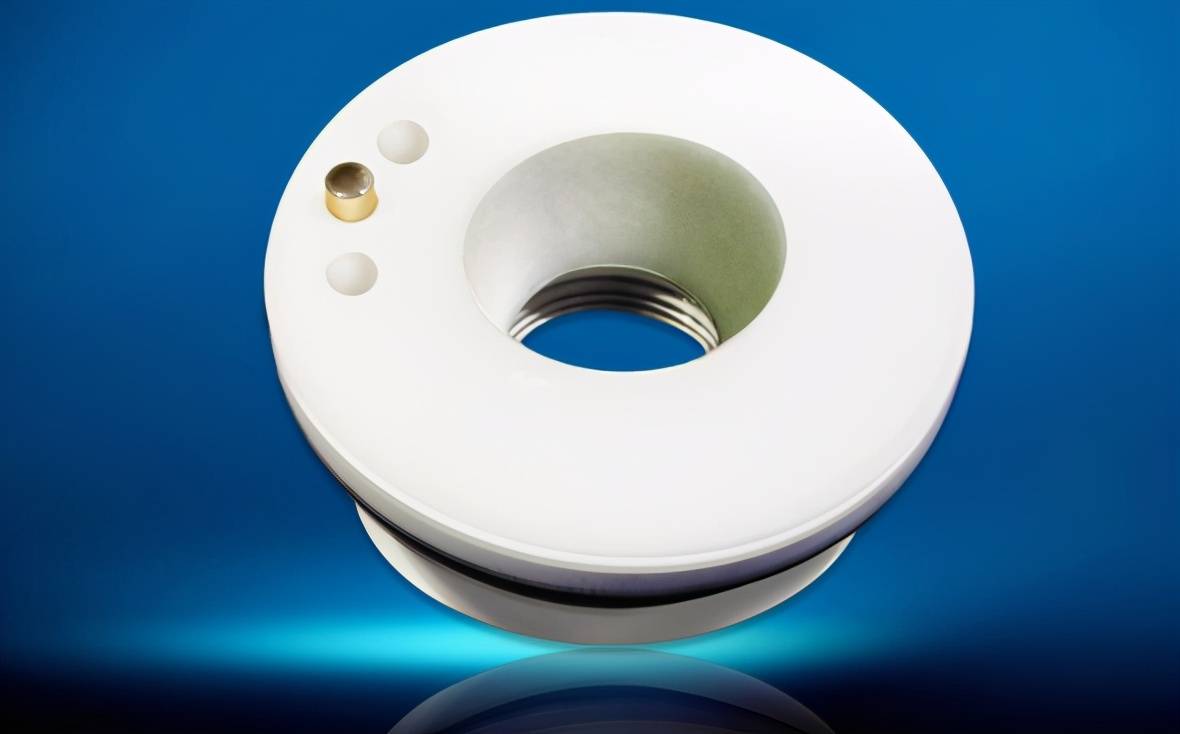
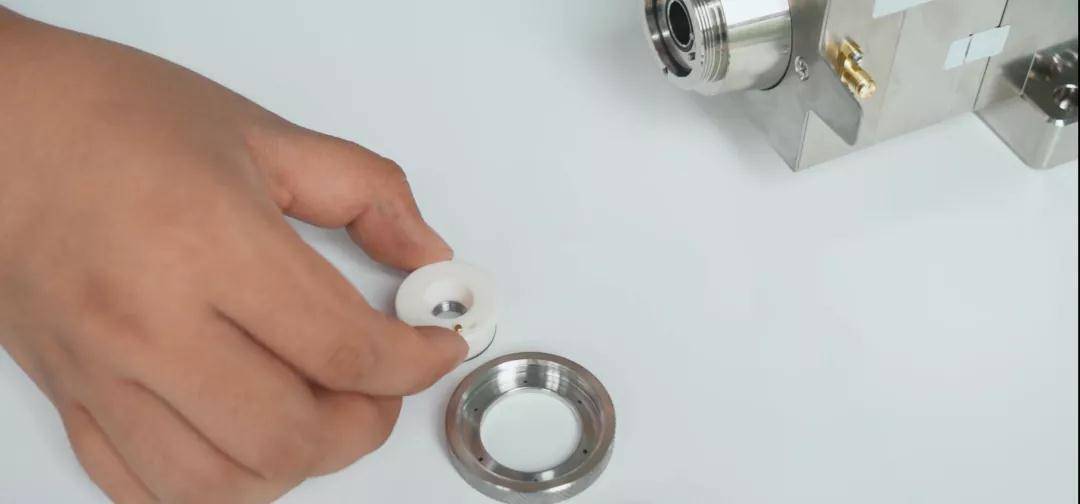
The main structure of the ceramic ring includes: a ceramic body, a stainless steel sheet and a copper column.
2. Damage causes and manifestations
As one of the wearing parts of the cutting head, the ceramic ring is easily broken due to the collision of the cutting head, or the ceramic body is overheated due to excessive laser output power during daily cutting use.
After the ceramic body is damaged, there are mainly two phenomena: there is a problem with cutting (for example, the cutting and perforation fails) or the system display shows an error "the capacitance of the body becomes smaller, larger, or 0". When these two phenomena occur, the ceramic ring needs to be replaced in time.
3. Ceramic ring replacement steps
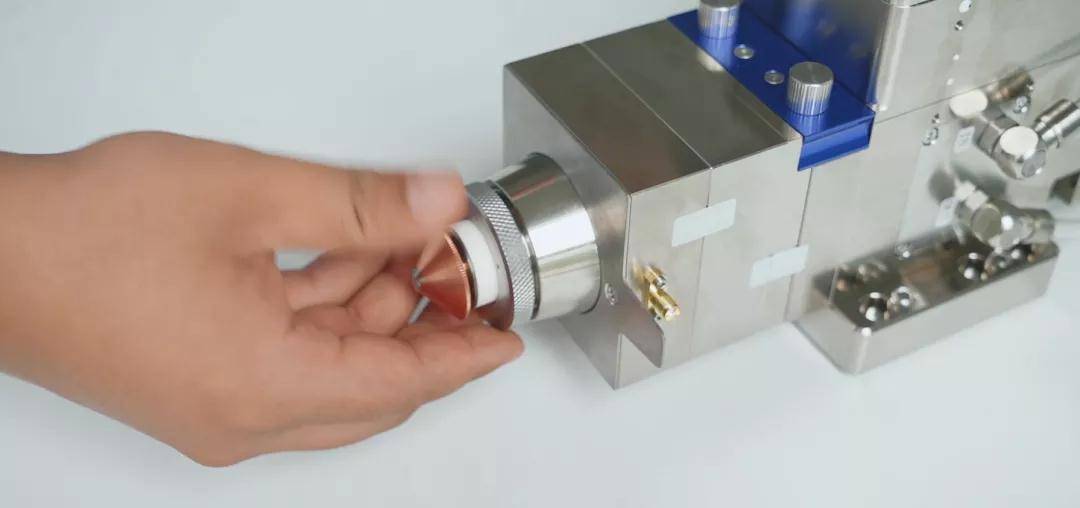
Step 1: Unscrew the nozzle of the laser head;
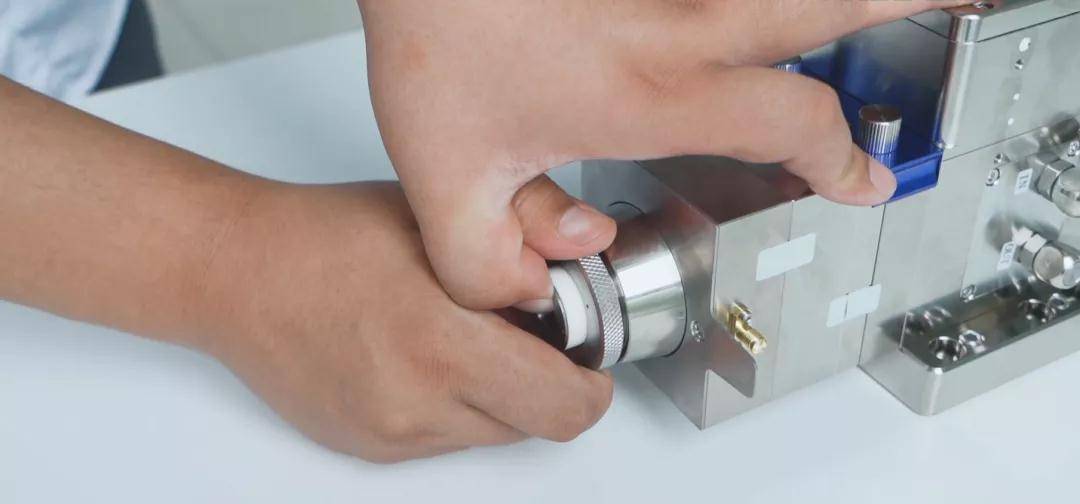
Step 2: Loosen the ceramic ring locknut
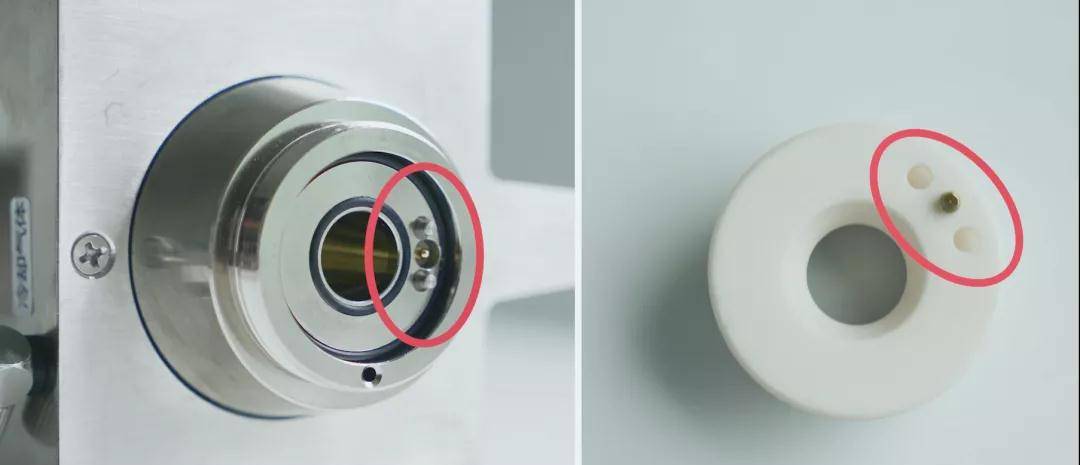
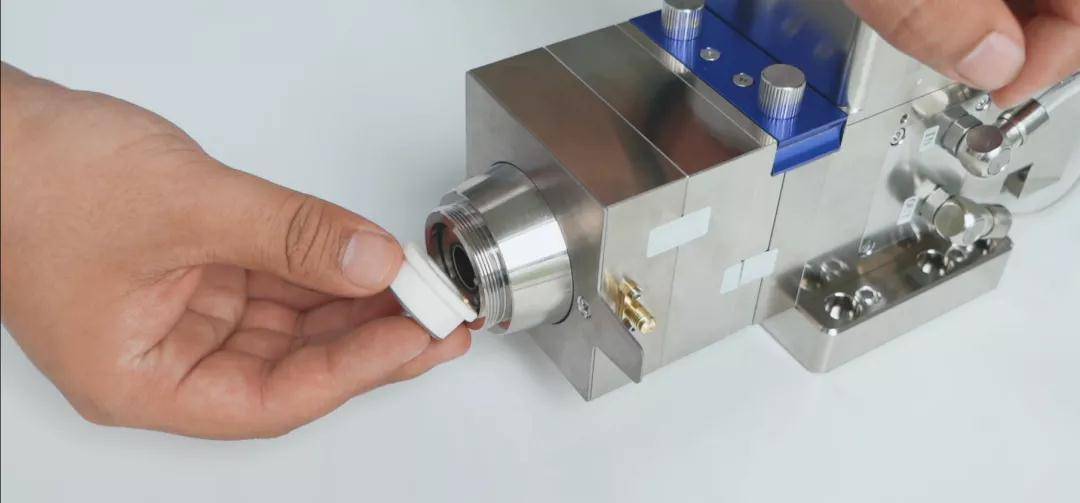
Step 3: Take out the ceramic ring, pay attention to the position of the positioning pin and the position of the washer;
Step 4: Install the new ceramic ring, pay attention to the position of the positioning pin and the washer during installation. After the installation is in place, the ceramic ring should have no shaking and no looseness;
Step 5: Tighten the ceramic ring lock nut, tighten the nozzle, and re-calibrate.