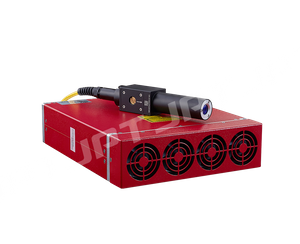
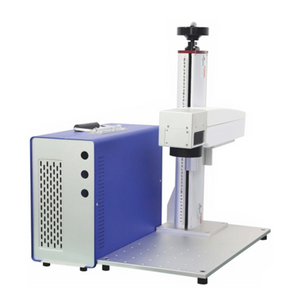
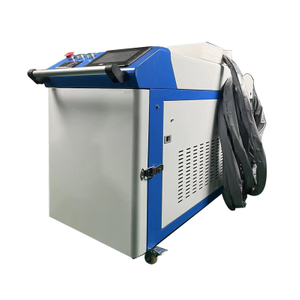
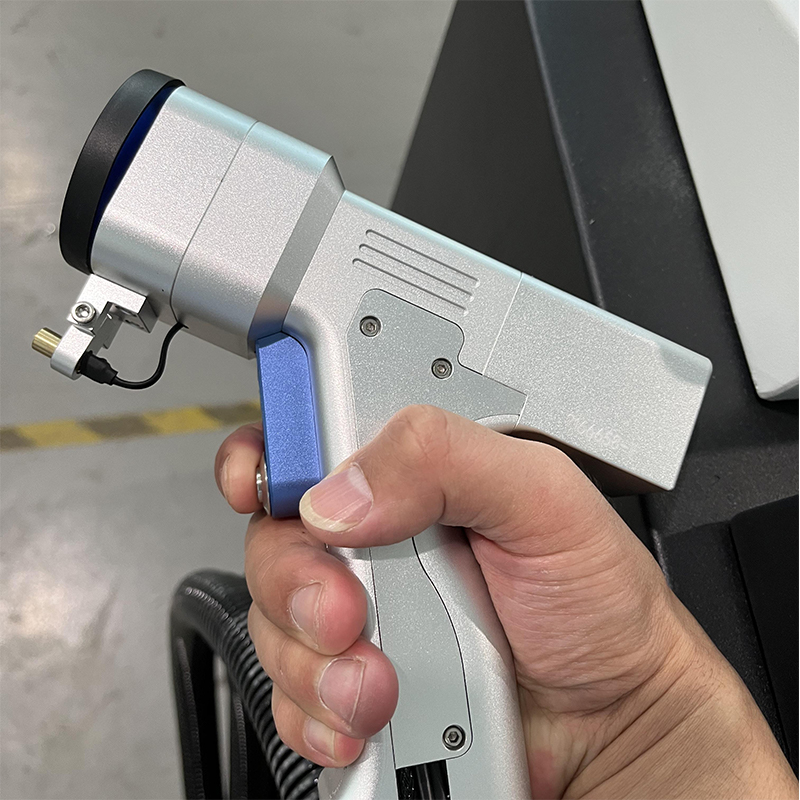
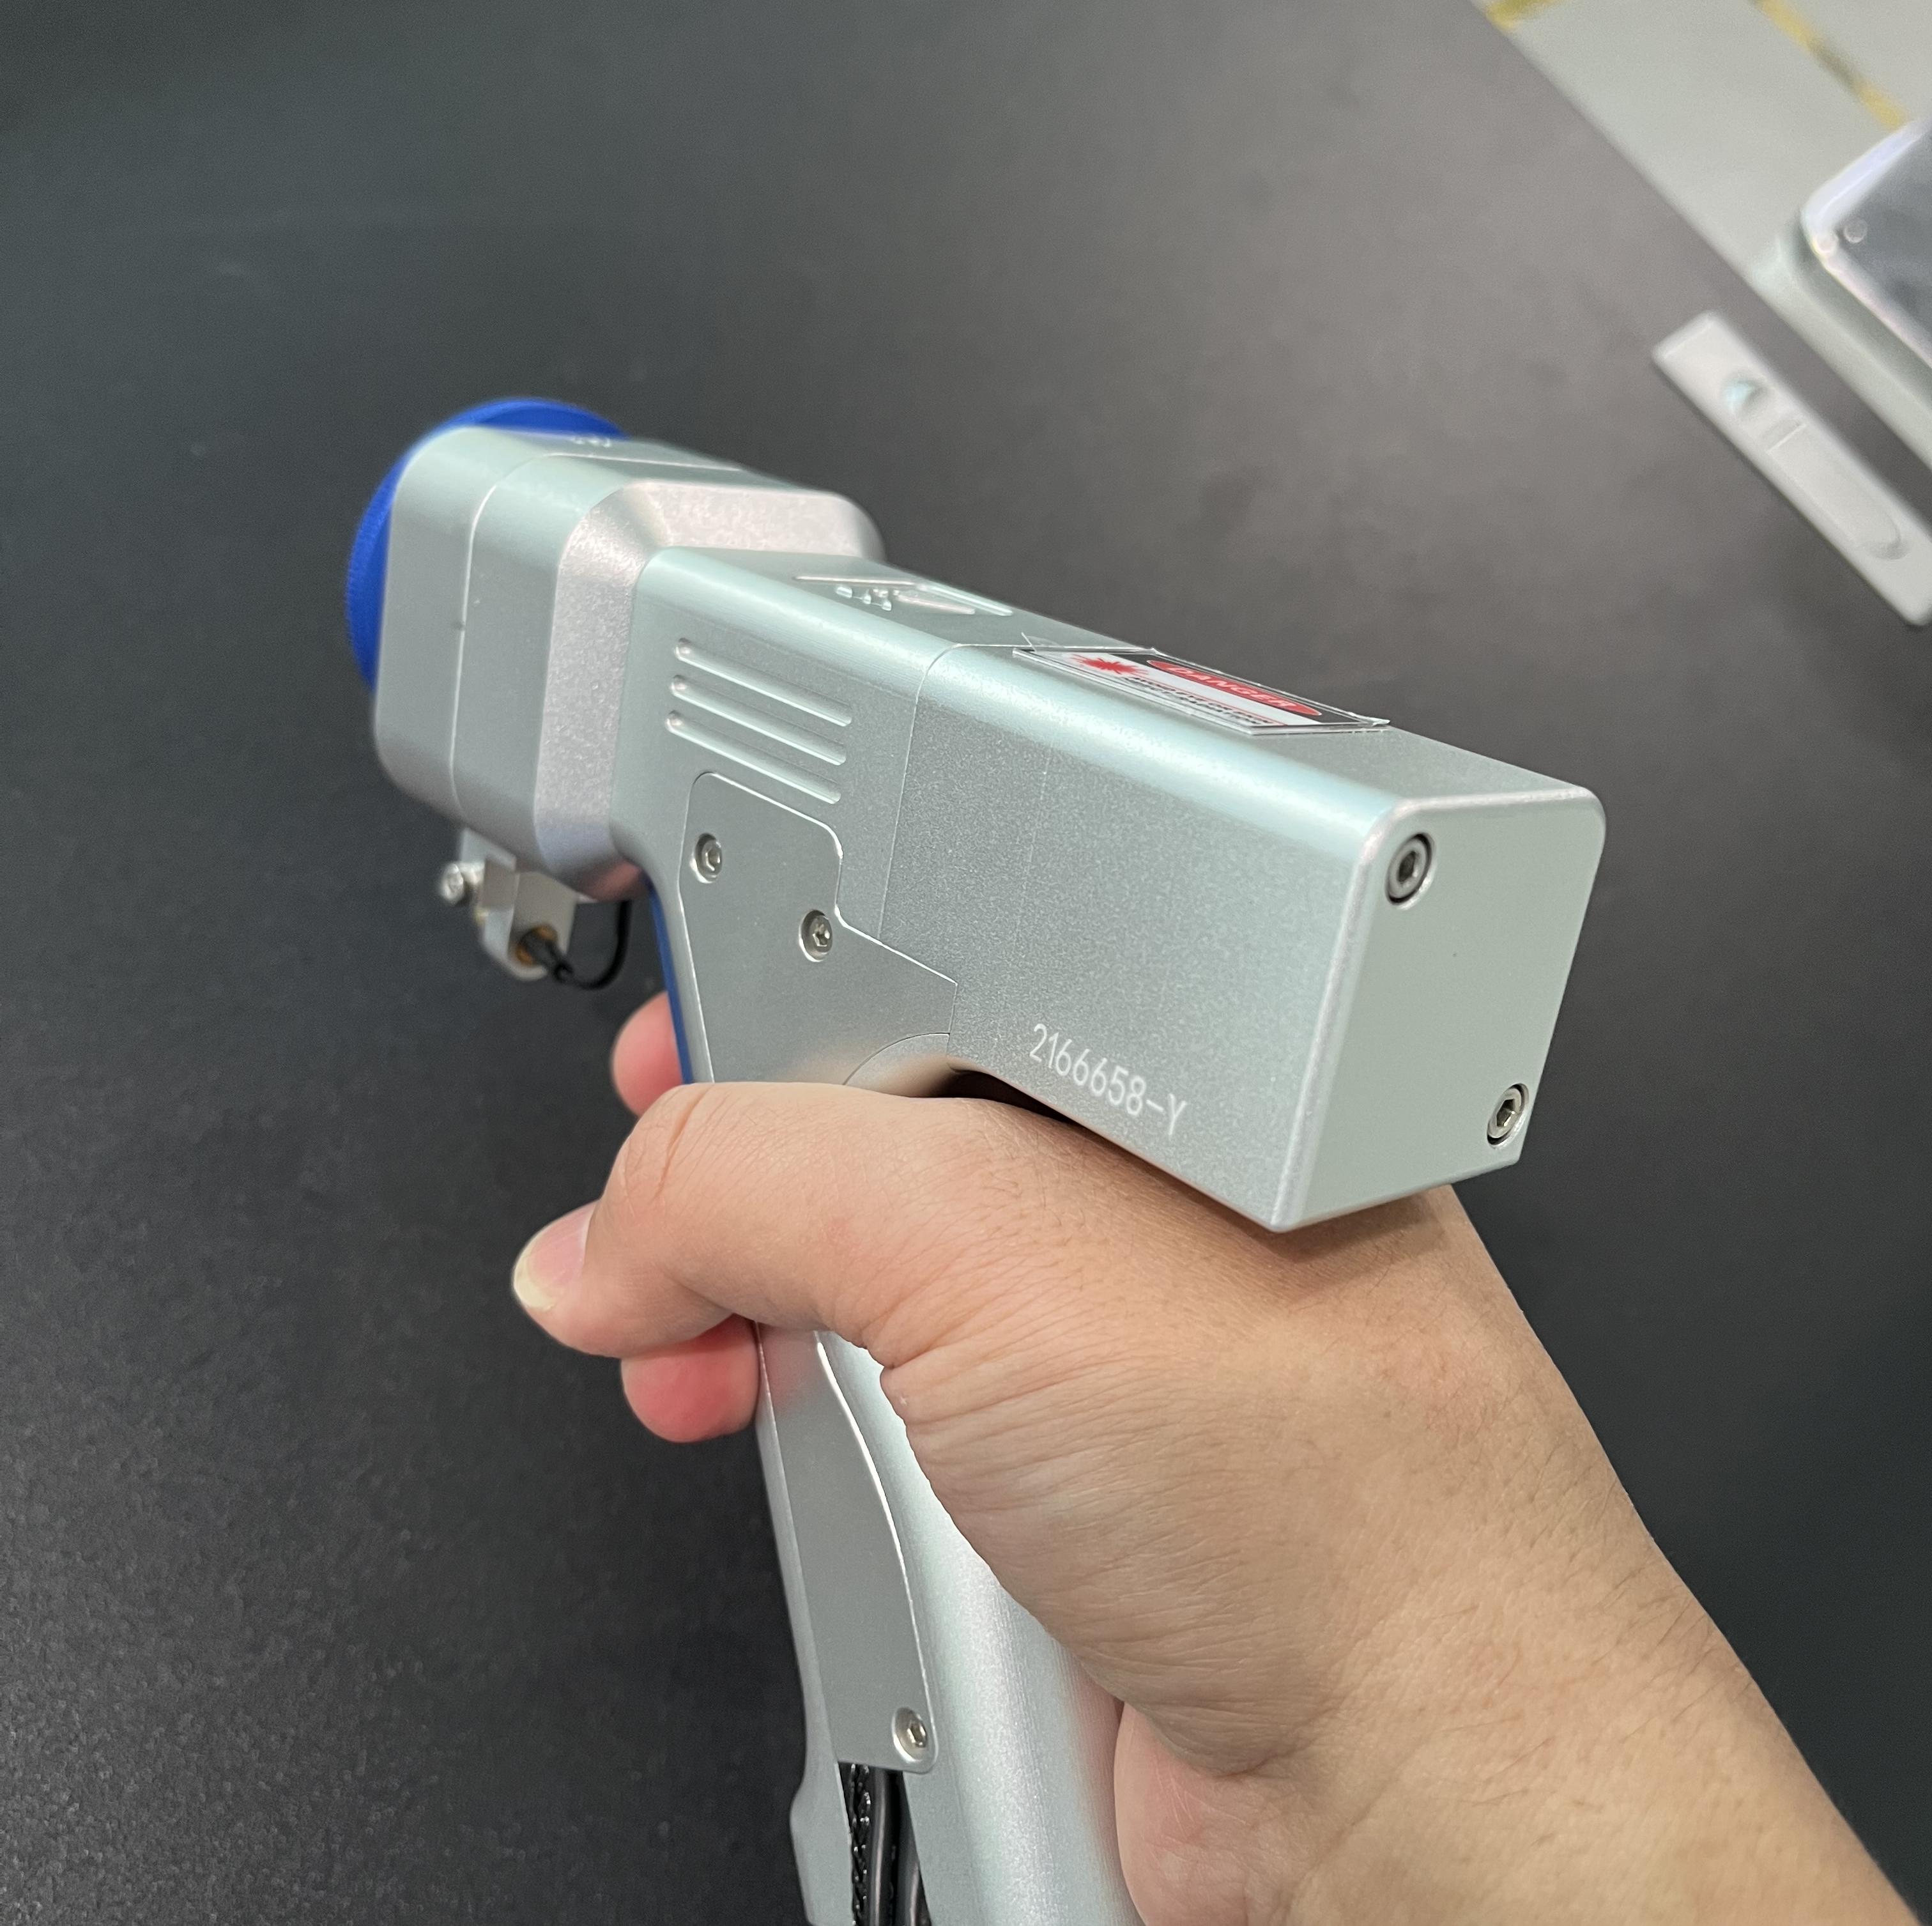
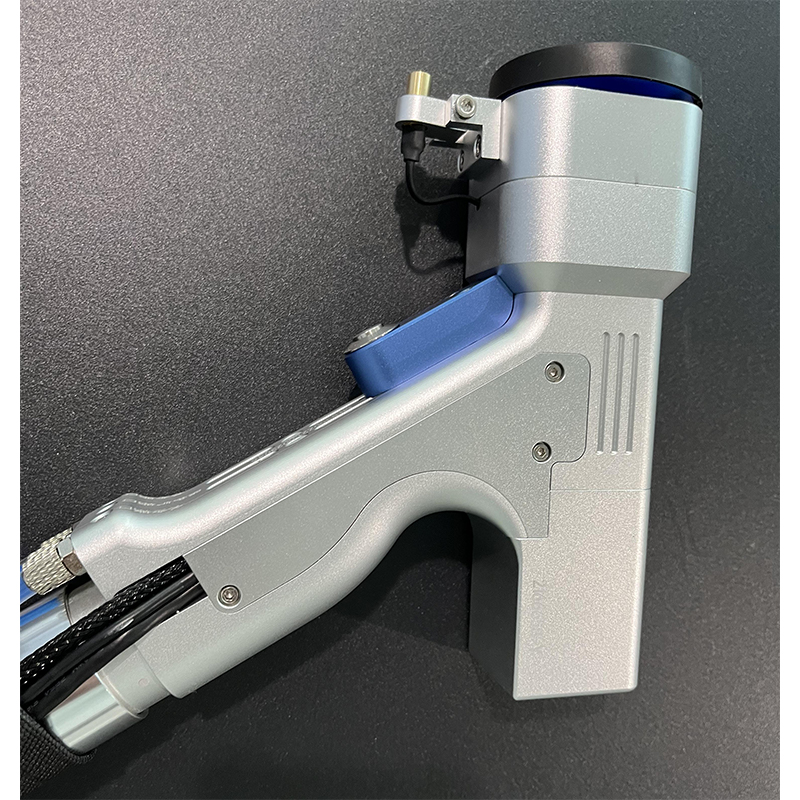
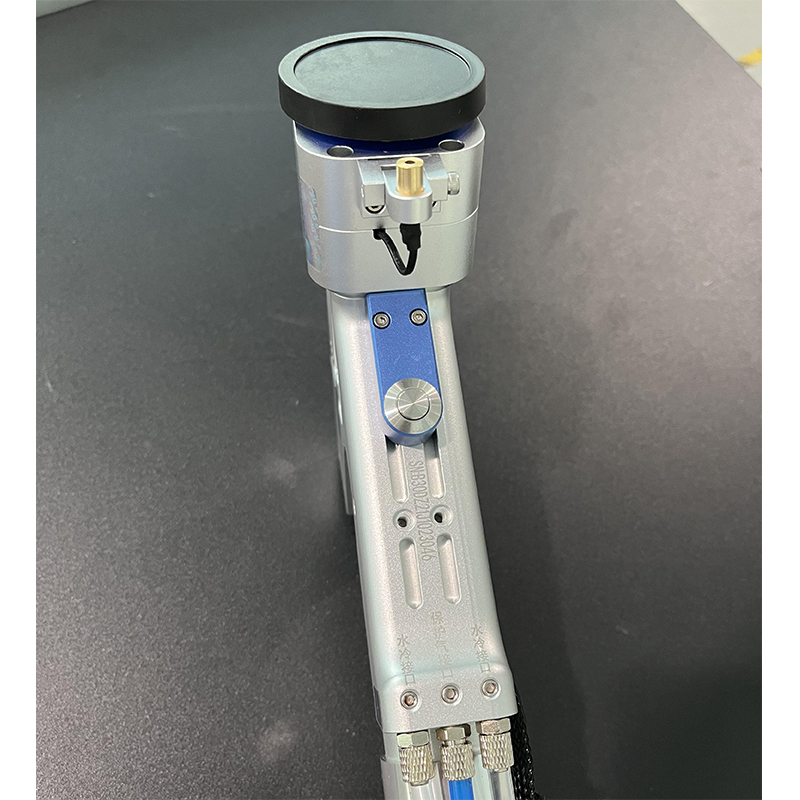
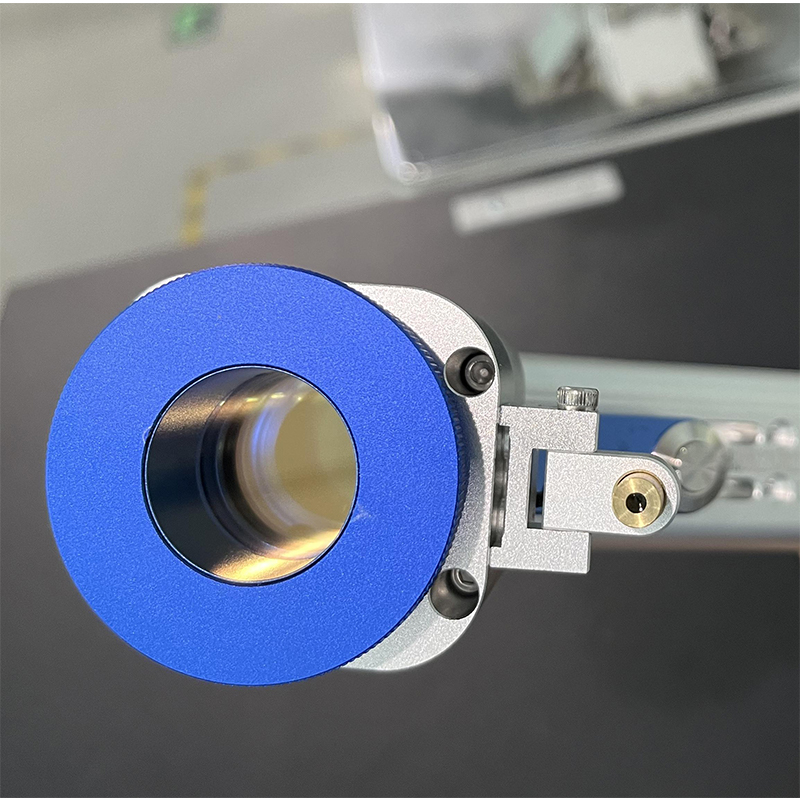
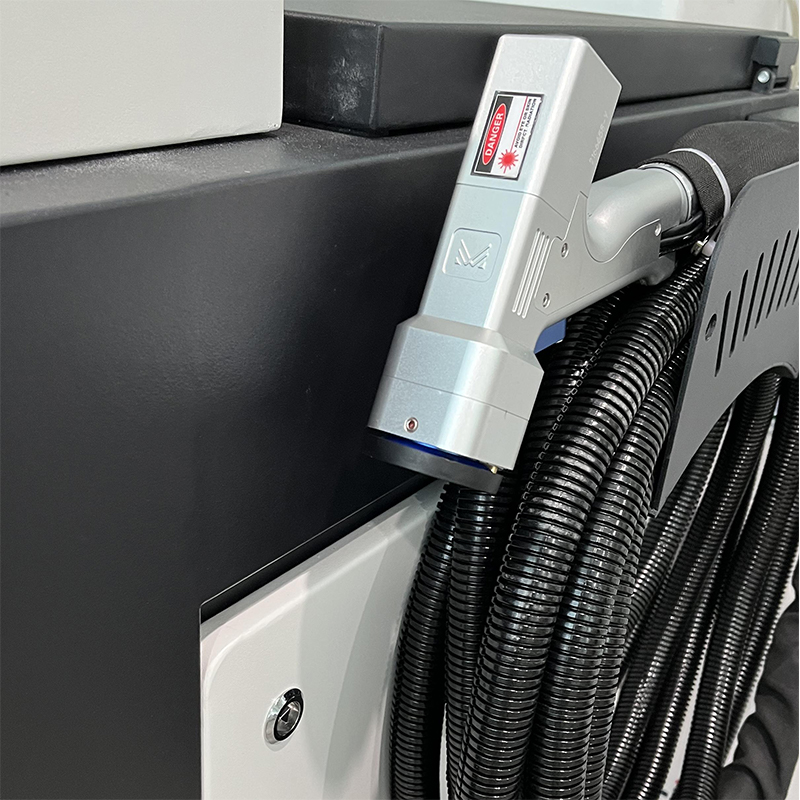
laser cleaning gun for Laser Cleaning Machine 1000W 1500W
product description:
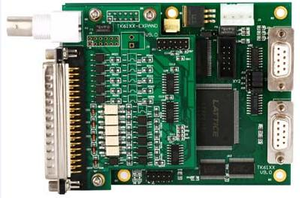
"KRD Handheld Fiber Optic Continuous Cleaning Head Control System" consists of controller and touch screen (including
connecting lines). This product is suitable for fiber laser 1000-3000W, swing head (single
galvanometer swing) control;

Accessories: 1 handheld cleaning gun, 1 controller, 1 touch screen, 1 cable. A number of accessories (including 1 ±15V switching power supply and 5 protective lenses).
Controller Installation and Port Definition
◎ ◎ The back of the controller is fixed by screws on the bottom skirt.
Laser and software wiring diagram As shown in the figure, the red font line mark
(Raycus, JPT, Maxphotonics, Tottenham, GGW, Keplin, Feibo, , ) and so on.
Laser connection precautions: some lasers need to be short-circuited when they emit light in the external control state
To interlock and supply power to one of the external control lines, please read the laser wiring instructions carefully.
Single vibration hand head wiring diagram (conventional wire feeder)
Precautions for hand-held cleaning head: : (controller red dial: 1, 2, 3 up, 4 down).
Handheld aerial plug wiring diagram
Precautions for the power supply of the control card: : The positive and negative 15V switching power supply and the power supply for the control system
The 24V switching power supply for laser enable, air valve, etc. needs a total of 0V, so the installation and wiring
When it is necessary to short-circuit the 0V of the two switching power supplies, or connect the 0V of the 24V switching power supply to
Connect to the GND of the output port.
1 X-KO1 anti-interference isolator: It is an optional electronic device on the handheld laser equipment.
The preparation work site environment is better, and there is no strong interference equipment around, so it is not necessary to install. Isolator
After installation, it can isolate the impact of some external strong interference sources on the equipment control circuit (such as: argon arc
welding, etc.). Please purchase this device by yourself or consult the relevant suppliers.
System connection and debugging
Follow the steps above to connect the laser and other components, then connect the touch screen to the controller
The cable is connected. Repeatedly check whether each circuit of the equipment is connected correctly against the circuit diagram, and confirm
Power on after everything is normal.
Touch screen and controller connection diagram
The operation and setting of the X-Z03 system are all done on the touch screen. The interface is simple and clear,
Including: welcome interface, home page, craft, settings, status.